

Throughout the Portal, you will see this icon to add an account, this is if you would like to aggregate outside accounts such as bank accounts:
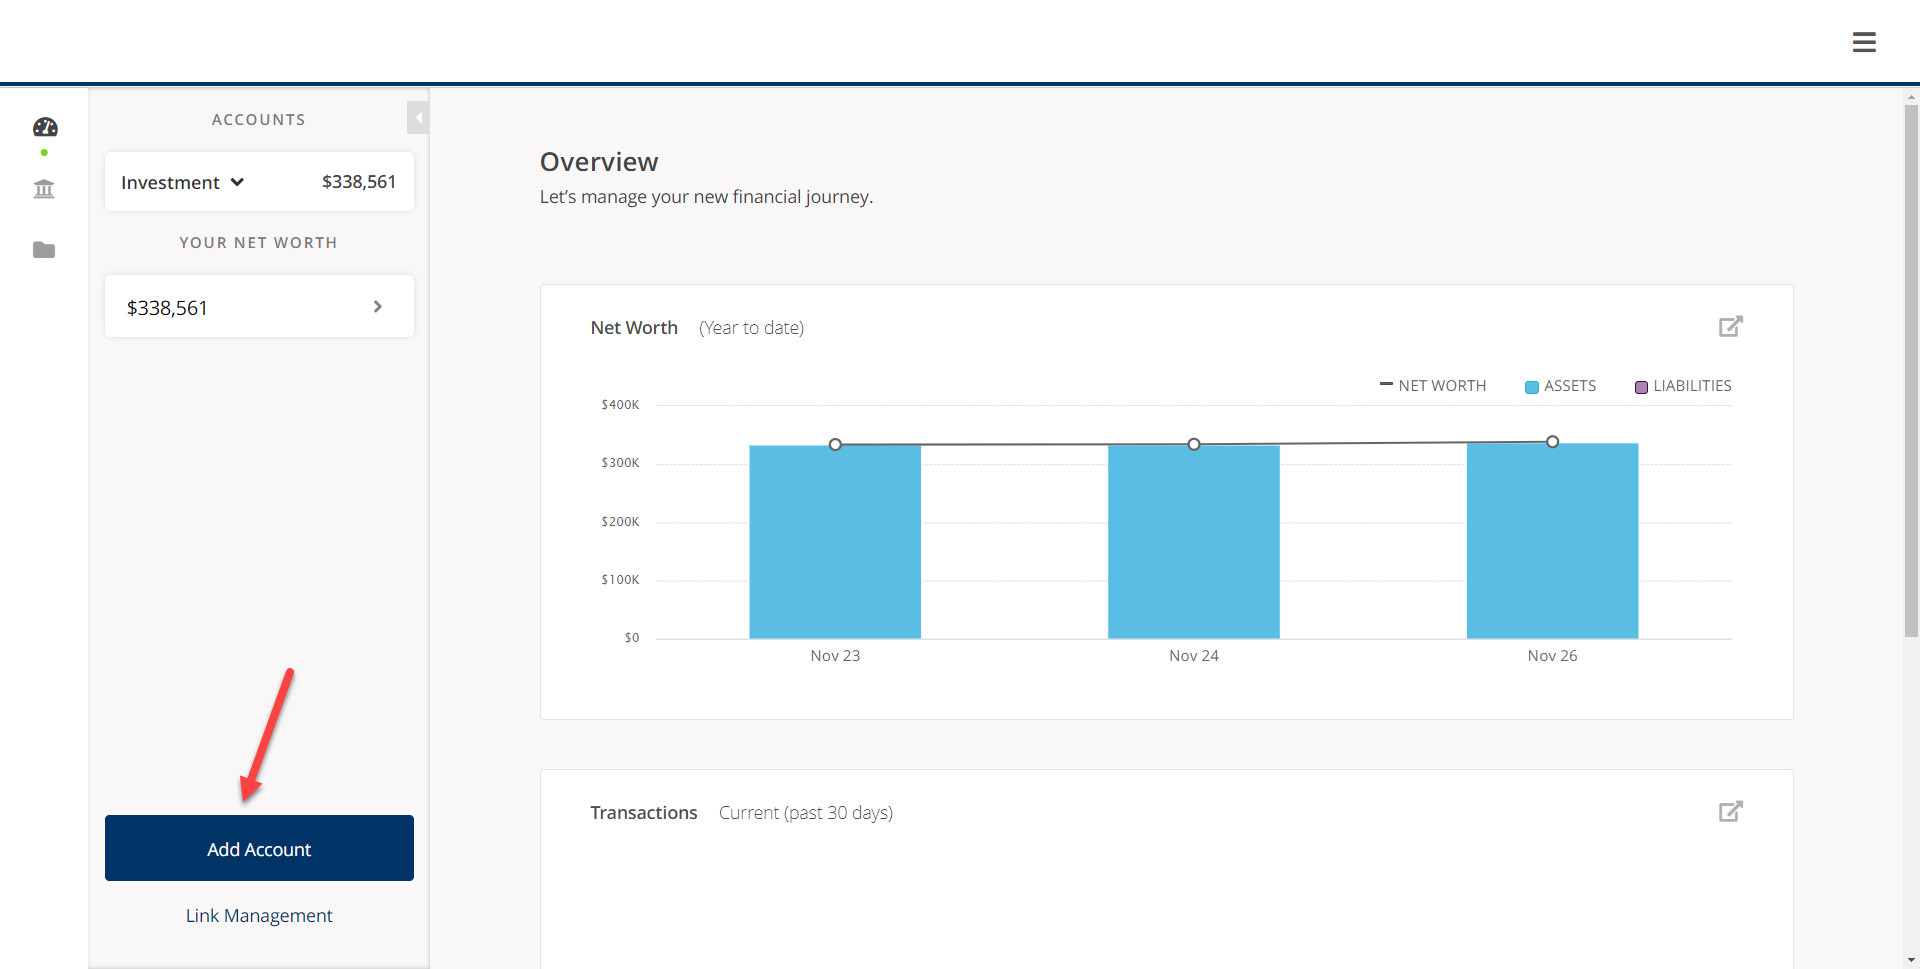
Click the Blue Box and you will be presented with this screen:

Start typing the name of your institution and when it populates, select it – for this example, we will use Chase Bank:

On the next screen, you will be asked to add your User ID and Password for that institution:

Once you click “login” you will see a screen that says “linking”

After the institution has been contacted, you will be prompted to enter in a temporary pin that will be sent to your choice of verification methods (email or text), choose the verification method that you would like and click “next question”

The Pin will be delivered, and you will enter it on the next screen:
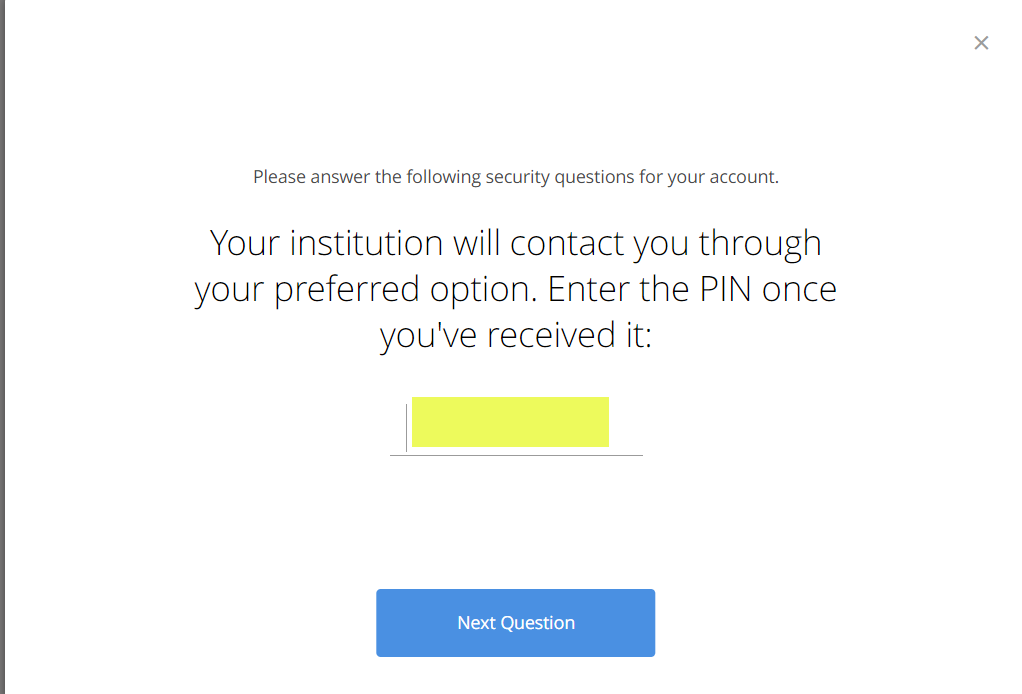
Click “next question” and you will see the linking screen again:

After the linking is successful, you will see this screen, click “Next”

After you click Next, you will see your new account on the accounts section of both the Overview and Personal Finances Tab

*Please note that the screenshots shown of the Client Portal are from a sample account created for demonstration purposes only. This sample account is being used for illustrative purposes only and does not represent actual client experiences or outcomes.